Based on 268 reviews
Empowering Mothers Through Expertise and Care

Founded in Australia, Pregnancy Mom and Baby is dedicated to supporting mothers and caregivers. Our goal is to provide reliable information and guidance throughout pregnancy and early motherhood.
Our team combines professional expertise with a compassionate approach, ensuring that every mother feels informed and empowered. Join our community for ongoing support and valuable resources at every stage.
Essential Maternal and Infant Support
Ready to Begin Your Journey?
Connect with us for personalized guidance and support tailored to your family’s needs.
Latest Articles
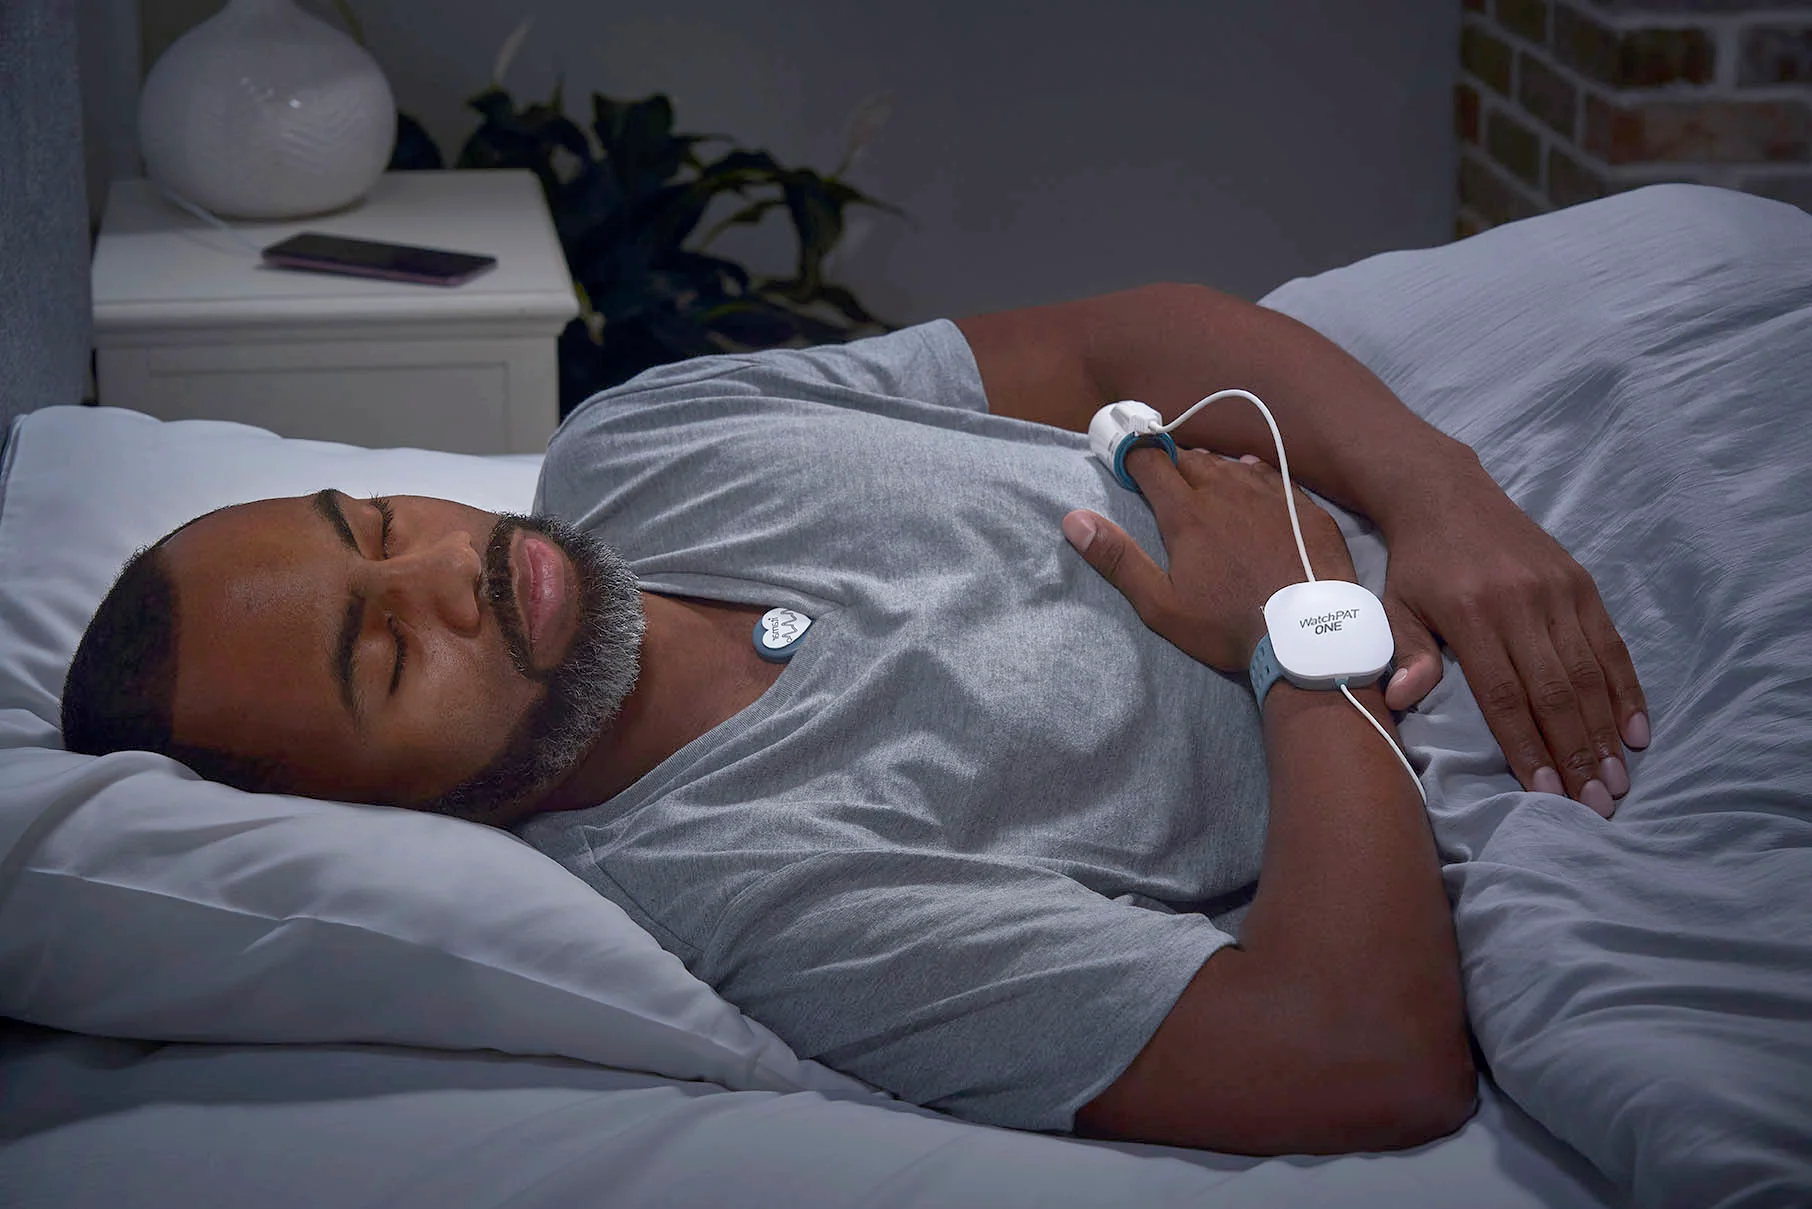
What Is a Sleep Study Test and Do You Really Need One?
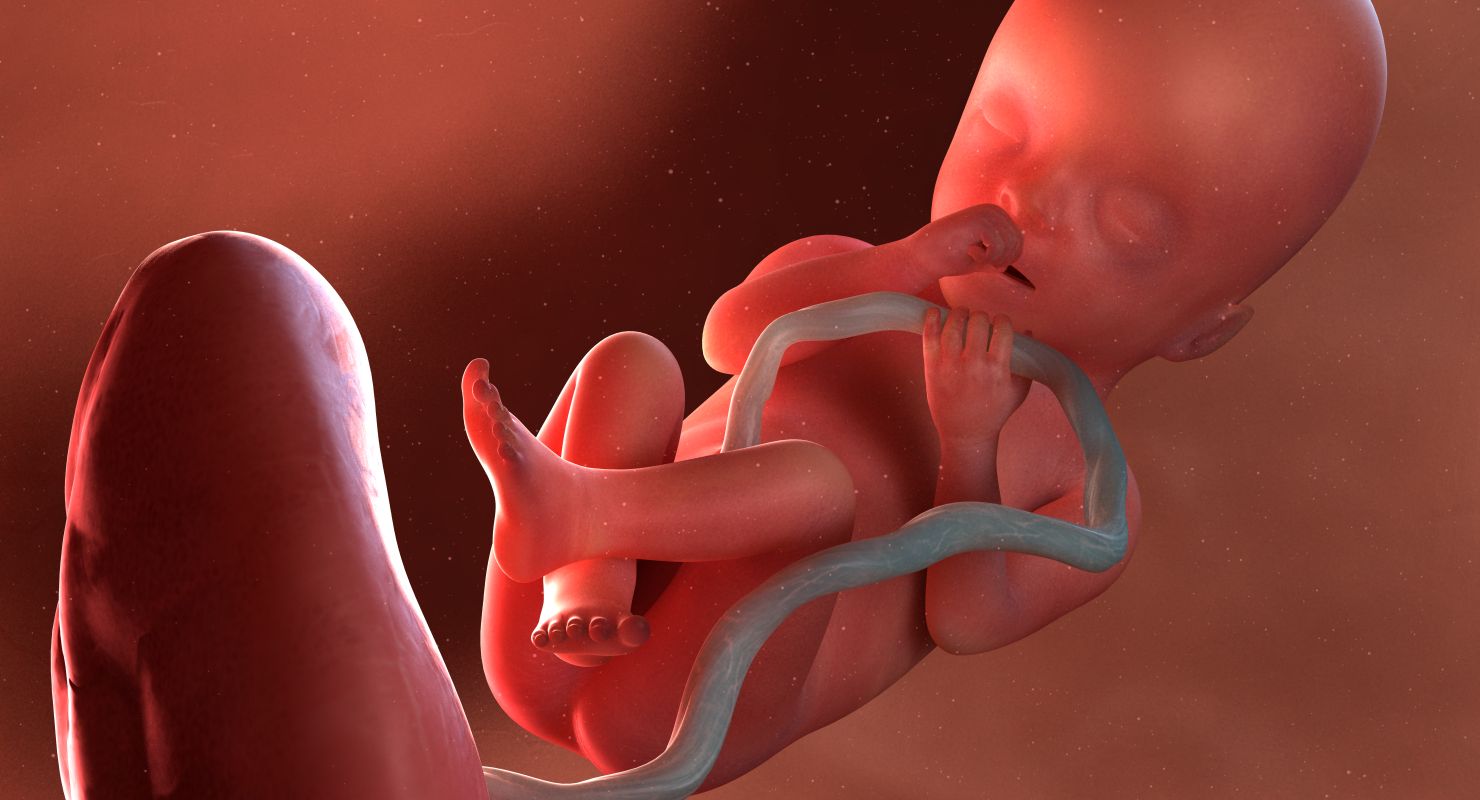
What Does A Fetus Look Like at 20 Weeks?
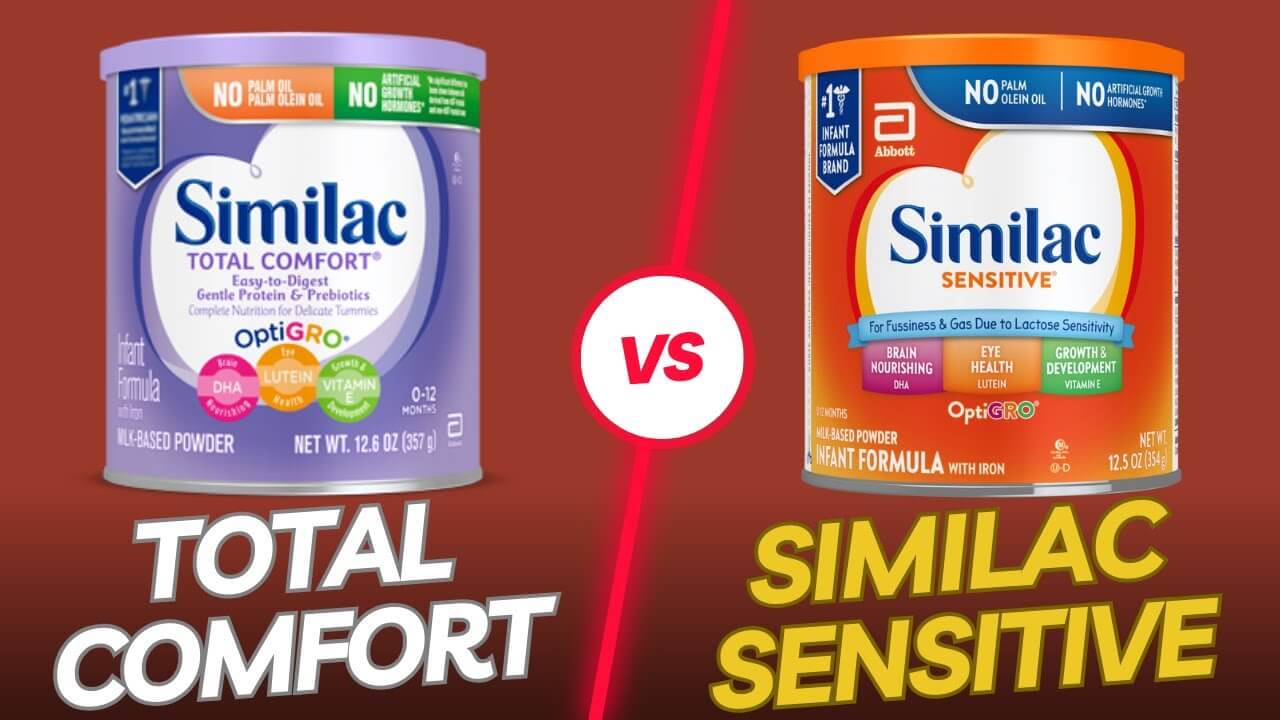
Similac Sensitive vs Total Comfort: Which is better in 2022?
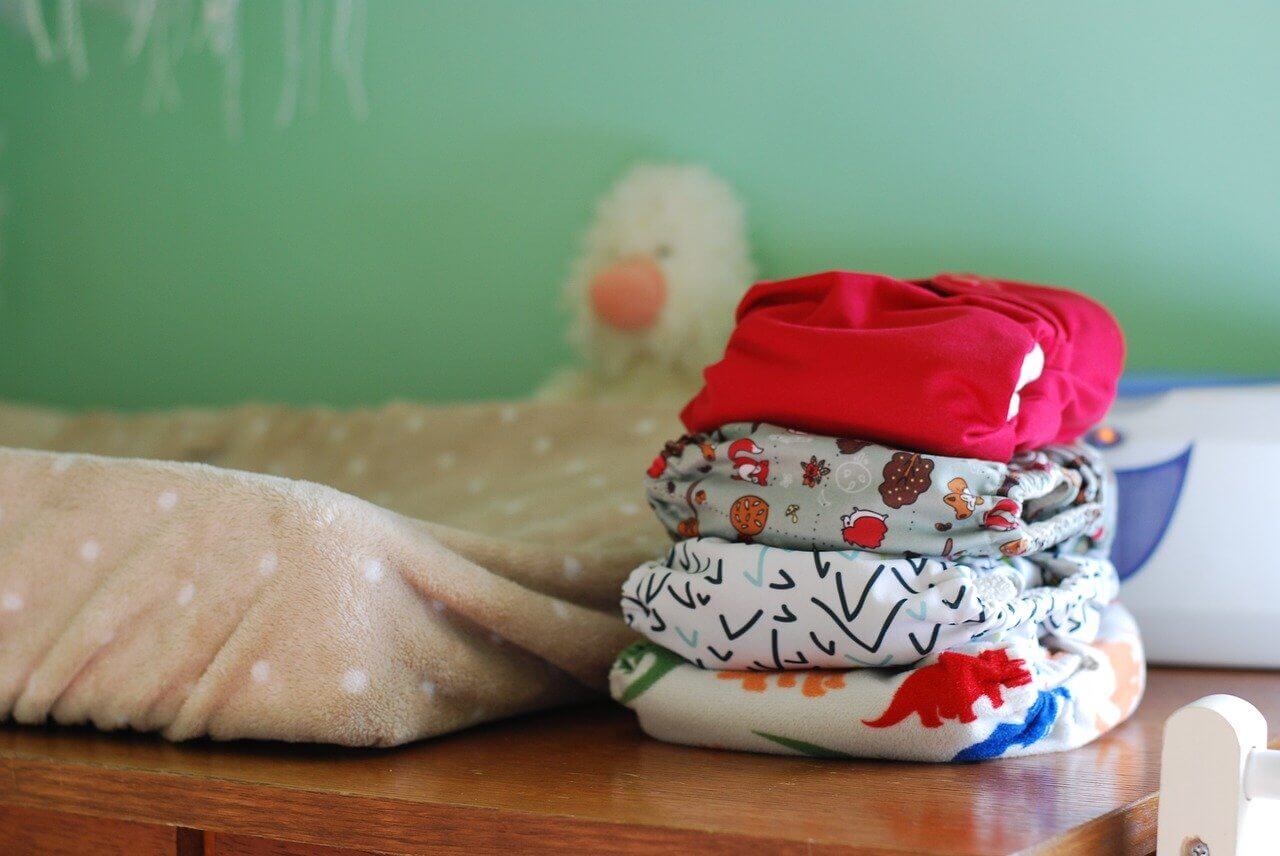
How often to change baby clothes?
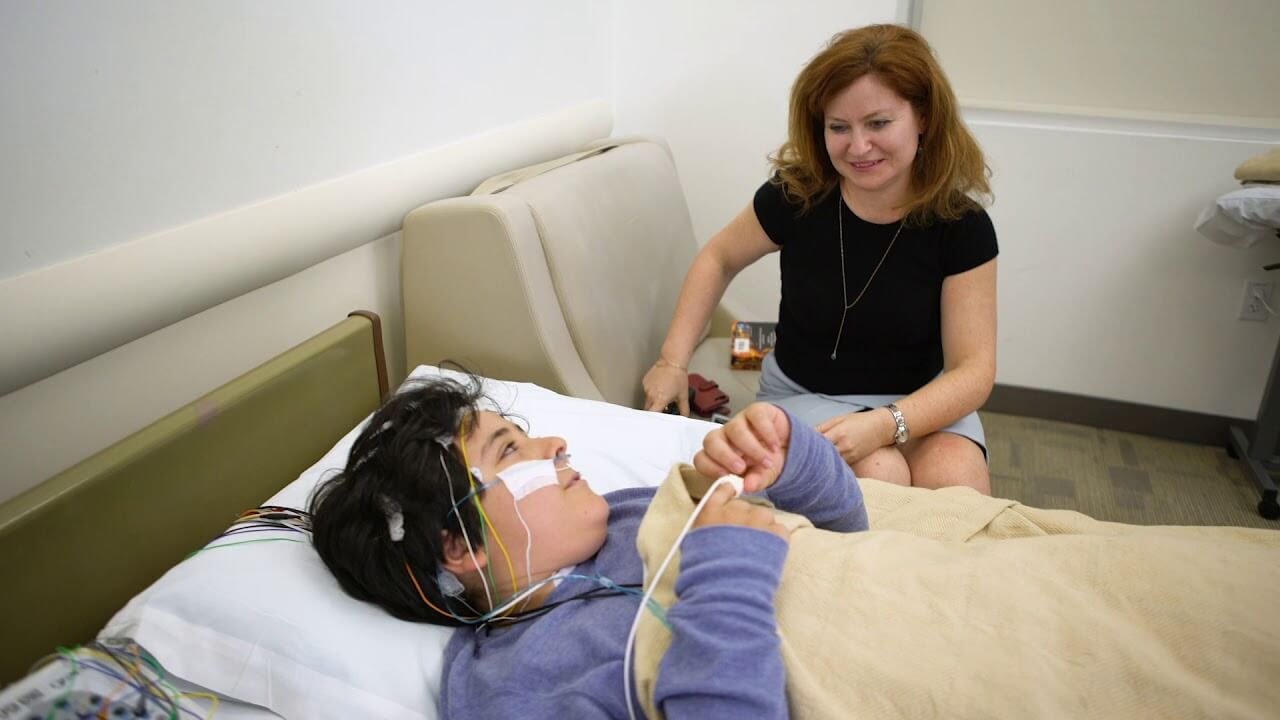
Exploring Sleep Disorders Tests: When Should You Get Tested

Does Medicare Cover Sleep Apnea Tests? Understanding Your Options
300+ Elegant middle names for Maggie exclusive ideas
What Moms Say
Pregnancy Mom and Baby has been a lifesaver for me during my pregnancy! The tips and advice are invaluable.
Sarah Johnson
As a first-time dad, I found the articles on baby care incredibly helpful. Highly recommend to any new parents!
Michael Smith
The support and resources provided here made my transition into motherhood so much smoother. I’m truly grateful!
David Brown